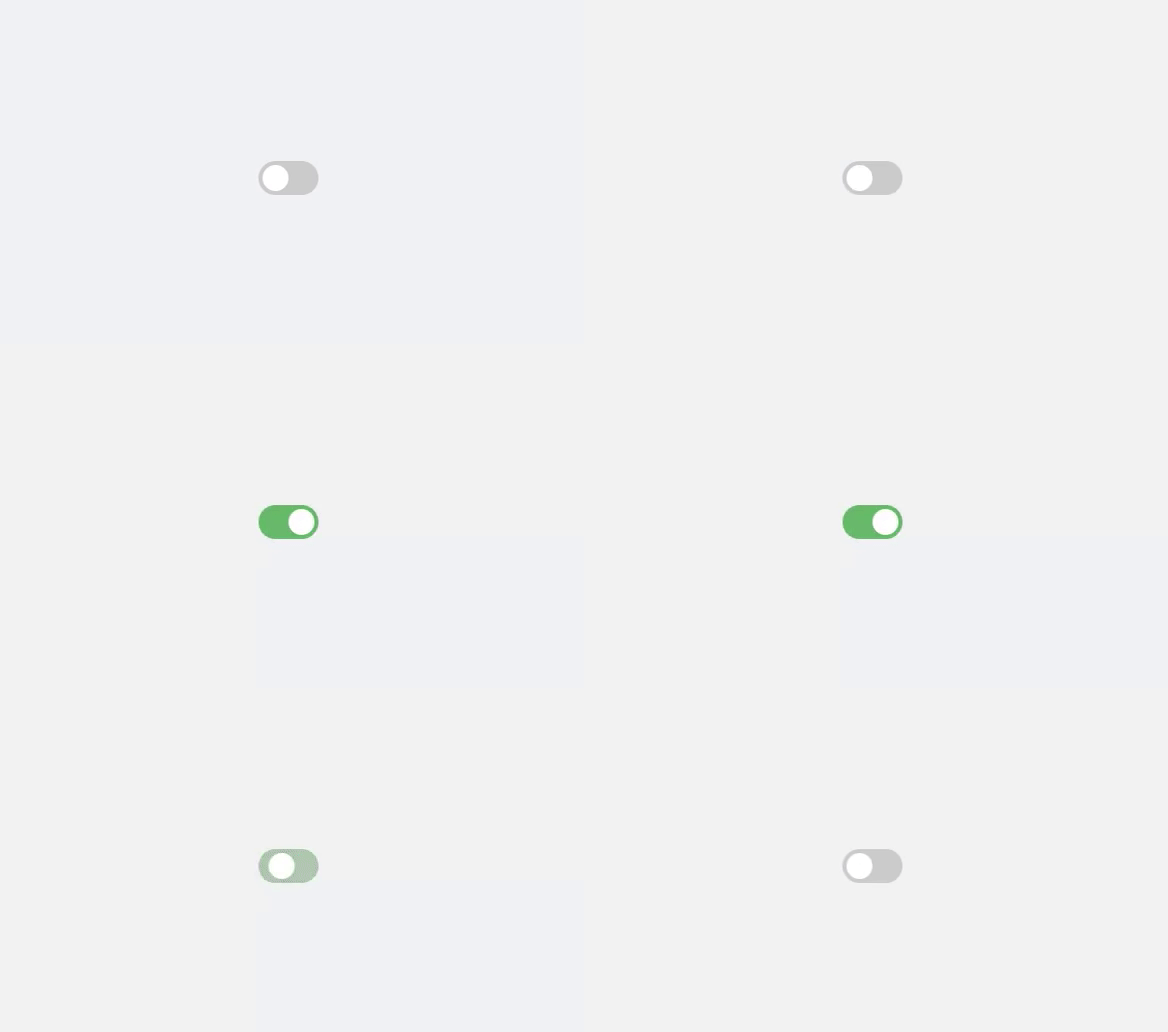
Checkbox Toggle
Here, we create checkbox using HTML and CSS.
Project Folder Structure
Before we start coding we take a look at the project folder structure. We start by creating a folder called – “Checkbox” Inside this folder, we have 2 files. Create these files like below:
- index.html
- style.css
HTML
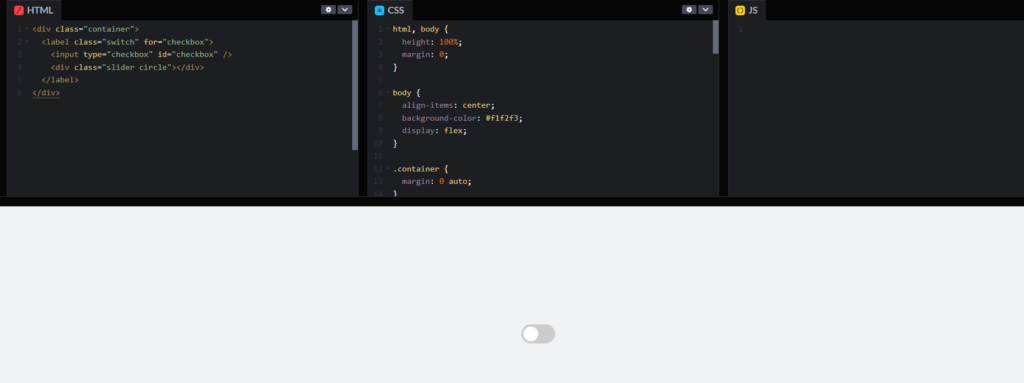
We create checkbox toggle using HTML code. Copy the code below and paste it into your index.html file.
					<div class="container">
  <label class="switch" for="checkbox">
    <input type="checkbox" id="checkbox" />
    <div class="slider circle"></div>
  </label>
</div>
CSS
We create checkbox toggle using CSS code. Copy the code below and paste it into your style.css file.
					html, body {
  height: 100%;
  margin: 0;
}

body {
  align-items: center;
  background-color: #f1f2f3;
  display: flex;
}

.container {
  margin: 0 auto;
}

.switch {
  display: inline-block;
  height: 34px;
  position: relative;
  width: 60px;
}

.switch input {
  display:none;
}

.slider {
  background-color: #ccc;
  bottom: 0;
  cursor: pointer;
  left: 0;
  position: absolute;
  right: 0;
  top: 0;
  transition: .4s;
}

.slider:before {
  background-color: #fff;
  bottom: 4px;
  content: "";
  height: 26px;
  left: 4px;
  position: absolute;
  transition: .4s;
  width: 26px;
}

input:checked + .slider {
  background-color: #66bb6a;
}

input:checked + .slider:before {
  transform: translateX(26px);
}

.slider.circle {
  border-radius: 34px;
}

.slider.circle:before {
  border-radius: 50%;
}
CODEPEN

Watch Some Other Topics
